Showing posts with label stash busting. Show all posts

Tuesday, March 26, 2024

Celosia Cross Body Bag

 Awhile ago, I was asked to make a bag for a young man. The bag he was currently using was worn out. He sent me pictures and measurements of his current bag, and after a bunch of thought and planning, I decided to try this pattern. To make sure it met his requirements and because I have lots of bag making stuff, I made a trial, so he could assess whether this would make his needs.

For my trial bag, I was inspired by finding a fabric and zipper that went together perfectly.


From that, I eventually got to this.


Not bad, considering it all came from my stash (except the strap).

It was quickly apparent that the Caticorns wouldn't work on the gusset or the body of the front of the bag. So further stash diving turned up the polka dots.


I almost forgot to add my label, but remembered just before the final assembly. I think it is up a bit high.


The front pocket is large enough to hold a large phone.


It will also fit in the slip pocket inside the pocket.


There are 6 card pockets.


And the cards actually fit.

The gusset is quite wide.


The inside of the bag is quite bright. Obviously we haven't had enough sun.


I dropped my Roxy wallet in, and there is still plenty of room.


It's a 7 1/2" clasp and it looks lost inside this bag. 

If this satisfies my young friend for size and shape, the next one will be a boring navy waxed canvas. 

Pattern is Celosia Cross Body Bag by Blue Calla

Fabric is from my stash (assorted sources) 

Strap is from Blue Calla

Hardware is from Emmaline Bags

Zipper is from Zipper Valley


Wednesday, July 19, 2023

12 Days of Christmas In July Blog Hop - Decorating the Dog


Wow, its my day on the 12 Days of Christmas in July Blog Hop! Sarah, from Confessions of a Fabric Addict is celebrating all things Christmas for 12 days in July. After all, who has time to make handmade gifts or decorations in December.

I'll start with an introduction, in case you haven't been here before. I am Kate, a Canadian blogger, knitter, bag maker, sewist, and occasional quilter. I started knitting and sewing when I wasn't very old. I am also an engineer, with a specialization in process engineering. 

I live in a zoo. Well, not really but there have always been dogs in our home. For about 20 years, we fostered cats, preparing nearly 200 cats and kittens to become permanent members of someone else's family. We currently have a dog (Doug) and two cats (Mudd and Emme) who let us live with them. 

I'm a December baby, so I love decorating, and sometimes the decorating extends to the pets. 


Not every attempt is successful. You just know Doug is saying "You have got to be kidding."

Emme decided that she was so pretty that she would just be a decoration.


Dog bandanas turned out to be the most acceptable solution.


Last Christmas, it was cardinals.

Bandanas are quick and easy to make on the serger. If you don't have a serger, you can use a narrow hem or a machine overcast stitch. I make them from my stash fabric, large scraps and fat quarters. I made some Christmas ones this week, and I'll show you how I did it.

First thing to do, if you haven't done it for awhile, is to clean your serger.


I may have made a lot of bandanas lately. without cleaning it.

Next decide the size the the bandanas you are going to make. If you want ta perfect fit there is math involved. You will need to measure the dog's neck, add a bit extra so you can tie it, Then figure the length of the sides of the square using the Pythagorean Theorem. I have done the math to give you some general sizes (that engineering degree is handy sometimes.)

I usually cut a square in one of 4 sizes : 10" (XS), 14" (S), 18" (M) and 20" (L) . The square will give you two bandanas.

For these bandanas, I used 18" squares. This is a great way to use up a fat quarter somehow ended up in your stash. If you are worried about a one way print, I have found that the dogs don't seem to mind if it is askew (and the owner won't have a problem either).


I had a fat quarter of some vintage Debbie Mumm that volunteered for the job.


I squared it to 18". 

I cut the square into a triangle across the bias.


Then I chain feed all the edges through the serger, trimming off the width of the blade the make a nice clean edge. I use a balanced 4 thread stitch, usually using white thread. If the narrow points at the neck edge of the bandanas aren't feeding into the serger smoothly, I cut some 1" squares of stabilizer to help get the seam started. I cut a sheet of stabilizer into squares periodically and leave them in a box next to my serger.


In no time, you have a bandana made. I made 4 bandanas in about 45 minutes, from start to finish. This fabric is called Canadian Capers by Wilmington and it has lots of "iconic" images of Canadian winter. I had a scrap that was the right size for 2 bandanas.


The bandanas are quick and easy gift as well as fun accessory for your dog, or those dog owners on your gift list. Did you know that 95% of pet owners give gifts to their pets at Christmas.

Here is a picture of my granddog, Cassie, wearing her summer bandana, that I sent her this week. Cassie is a bit of a fashionista and asks for her bandana every morning.


I hope you enjoy making some dog bandanas. They look really cute on any dog, and cats like them, too.


Saturday, March 4, 2023

Project Quilting 14.5

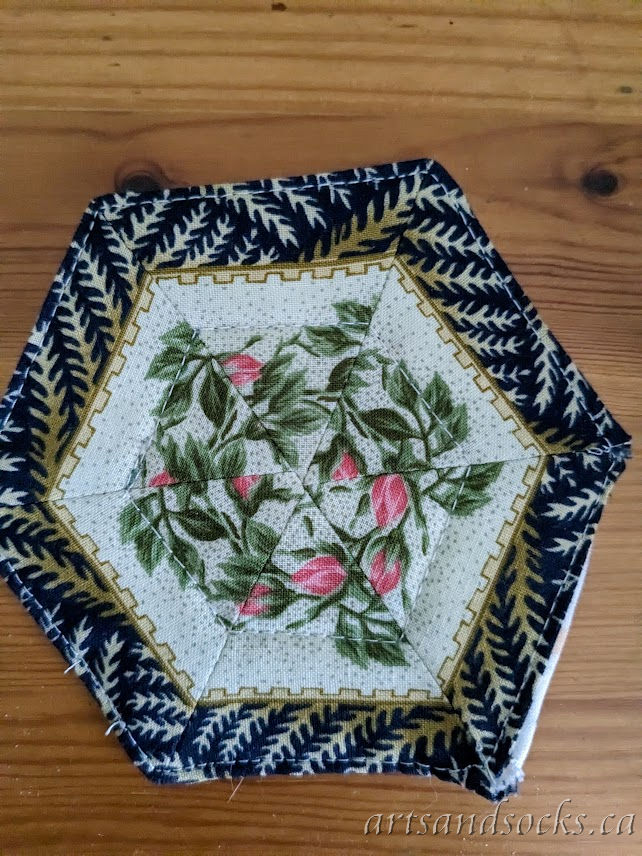
 This week's challenge was "Sew Not A Square". Okay, I can do that. I grabbed my ruler, and some border stripe fabric and made this.


I made a couple of spring coasters. They both have flaws, but they will serve the purpose.

I keep a glass of water on my night table and somebody (some feline) managed to destroy the coaster I was using. I was reduced to using this.


Not exactly my style. It also might have some tea stains on it. The cloth ones are an upgrade.

This is the back.


I'm sure it is only a matter of time before some accident befalls them, but for now, they are pretty and have a spring feeling.


Thursday, March 2, 2023

Another Bag

After making 2 zippered bags for Project Quilt, I realized remaking zippered pouches that I have made before is a good way to practice some basic bag making skills, without having to concentrate on trying to figure out the instructions for a more complicated project. My zippers are becoming tidier, my seams are nicely matched. 

So, this week, I made another Retreat Bag. The Retreat Bag is a free pattern from Emmaline Bags.  It is much like the Wide Open Pouch but it has these frames that help hold the bag open.


I discovered that I had 5 of the frames in my stash. These are the small size, Style A on Emmaline's site.


I hid some kitties on the slip pockets inside. As you can see, it stays open so you can get your contents in and out easily.

The outer fabric is one of a collection of fat quarters, I found hiding in my stash (this tidying thing has found lots of treasures.) I had forgotten what it was but after some research, discovered that it is an African batik fabric, heavier that the ones from Bali, and with simpler patterns. 

The lining was another fat quarter that seemed to match the outer fabric. The zipper was from a pack of zippers that were a bargain because I didn't get a colour choice. I wondered what I would use the colour for, but this is perfect.

I have made the large Retreat Bag before but this is my first small one. 

Today, I spent some time preparing for my next project.


The cutting table is clear.


The bin for the pieces of the project is empty. What will be next? Wait and see. My next step is to make sure I have everything I need.


Tuesday, November 22, 2022

Pillowcases - A Sort of a Tutorial

 ... Or maybe I should have started with Plan B.

Let's start with the finished project.


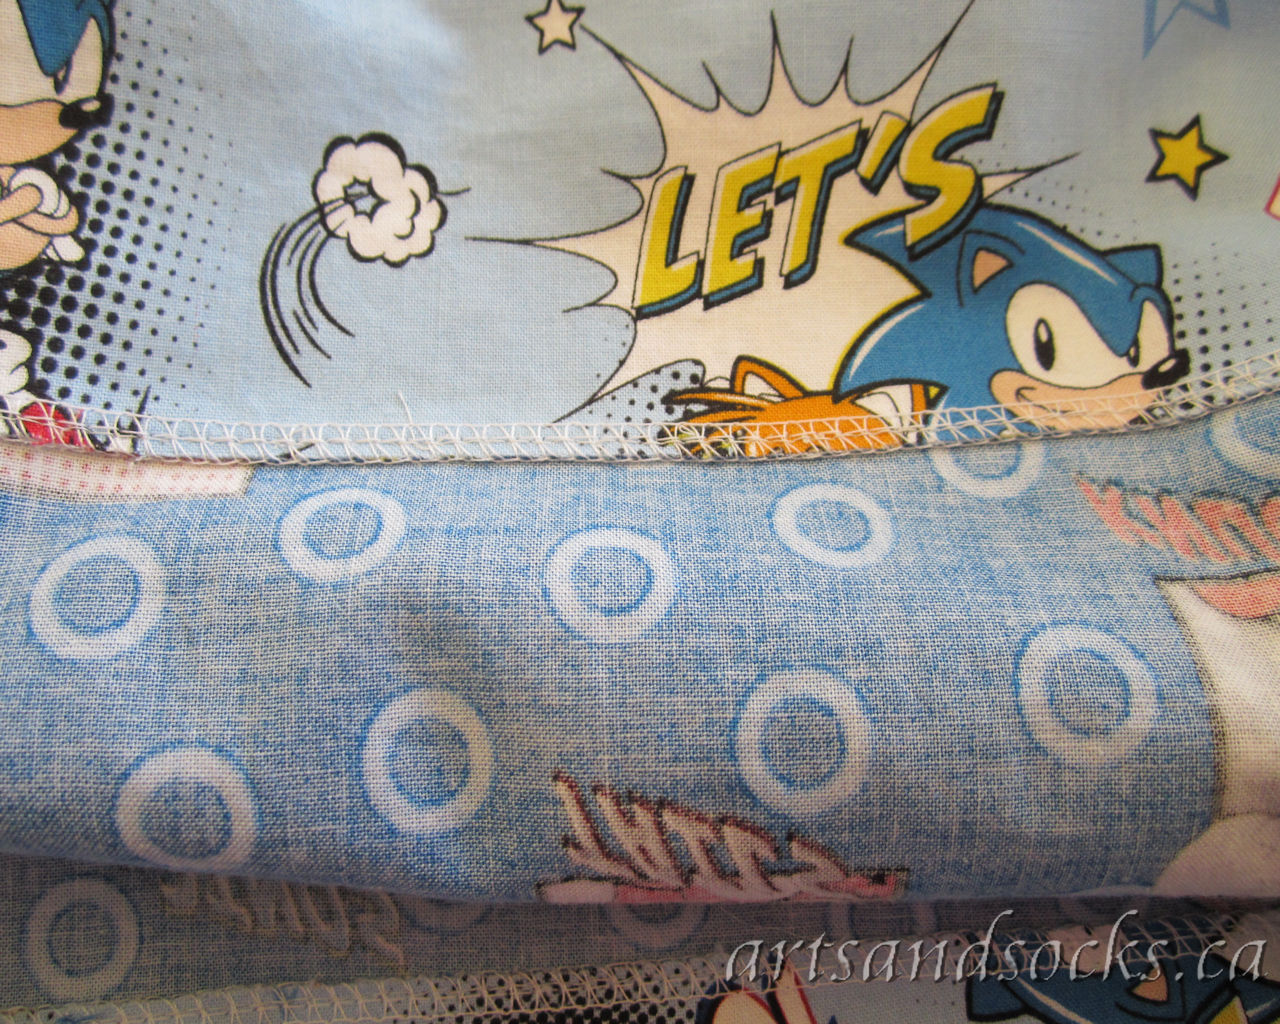
My favourite little boy is having a birthday. This year, he is all about Sonic the Hedgehog. While browsing my favourite online fabric store, Funky Monkey, I found this fabric on clearance. To make two pillowcases you need two yards of fabric, that go together, so that was easy. (I might have put some other items into my cart.)

To make two pillowcases I start by cutting 9 inches off the bottom of each piece of fabric. After that things started to go wrong. I tried to add piping to the pillowcase hem but it wasn't cooperating. I should have stopped but instead, I tried to make the best of it. In the end, I got out my stitch ripper, took it all apart and tried a different method.

On to plan B. 

Take the 9" strips of fabric and fold lengthwise in half, wrong sides together, or pretty side out as I tell beginners. Iron the fabric nice and flat and smooth. This will be your hem. Iron the larger pieces flat. This will be the body of the pillowcase.

Set up the serger for a 4 thread overlock stitch. Make sure the tension is even. (that is the longest part of the process.)

Align the hem with the bottom edge of the body, and serge a 1/4" seam.


Iron the seam toward the body of the pillowcase and top stitch on the sewing machine, close to the seam on the body of the case. I use my blind hem foot to make it nice and straight.


Fold the pillowcases, wrong side together, making sure that the hem seams match up . You can trim off the selvedge edges of the fabric at this point, but I just trim them with my serger. Serge the top edge and the side seam. 

TaDa, Two pillowcases in less time than it took me to take the first try apart!

I weave the serge tails into the seams and add a dot of fray check to keep them there.


Kids love these as gifts. His birthday presents are now filling the pillowcases. No waste gift bags. And the Paw Patrol cases from 2 years ago can now be retired.

I have the serger, and I used it a lot when my kids were little. It's funny how I forget to use it now.


Sunday, May 9, 2021

Decisions

 Did you ever start planning a project, with an idea of exactly what you want to do, and completely change your mind, as soon as you get started?

I had decided on a bag pattern for my on-going project of making some of bag patterns I have collected, and even knew which fabrics to I wanted to use.


The bag has piping and a contrast flap, so I was going to use these three fabrics. They look great together, and I had two small problems. The fabrics didn't feel very summery and  I didn't have any gold hardware in my stash. So, I will file this combination, and add gold hardware to a future hardware order. I still like it, but it needs to be a fall bag.

Second idea: If the Laurel Burch wasn't going to work, how about some Tula Pink? 


Definitely more like summer, but I just wasn't feeling this was right, either. The fabric for the piping didn't quite work.

Okay, one more try.


Wow, this suits my mood, exactly. It is bright, summery, and would look great with nickel hardware, which I already have. Now to find a lining.


Yes, that all works. I can see it together as a bright, fun bag, just right for running errands in the warm weather. Now, we just need two more things: Warm weather, and my immediate world to start opening for me, again.


Thursday, April 15, 2021

A New Goal

 I have been cleaning, sorting and tidying my sewing stuff, and decided that I need to make some of the bag patterns, and supplies (zippers, I'm looking at you!) that I have collected. So, I have decided to set a goal of one bag project per month. I am going to try planning ahead, so I can make sure I have the supplies that I need. 

Last year, I was suppose to go to quilt retreat, in April. I had the supplies to make a wallet, so I am going to start there. This morning, I checked in my sewing room, and decided I had enough to make two wallets.


Wallet #1 (ignore the polka dots, they are next.) Very busy, but cut into small pieces, I expect it will be fine.


Wallet #2, with a bit of bright pink metallic sparkle. 

The outer fabric is cork. The interior will be quilting cotton. The clasp for #1 is gunmetal and for #2 id rainbow iridescence. 


I even have enough Decovil to make two wallets. I don't think it will take much longer to make two than it would to make one.

I have plans for the next two months. this afternoon, I will check my supplies, order what I need, and cut out the wallets. 

I'm not sure what I will do with all these bags and wallets. If you see something you like, we can talk!